Cart
0
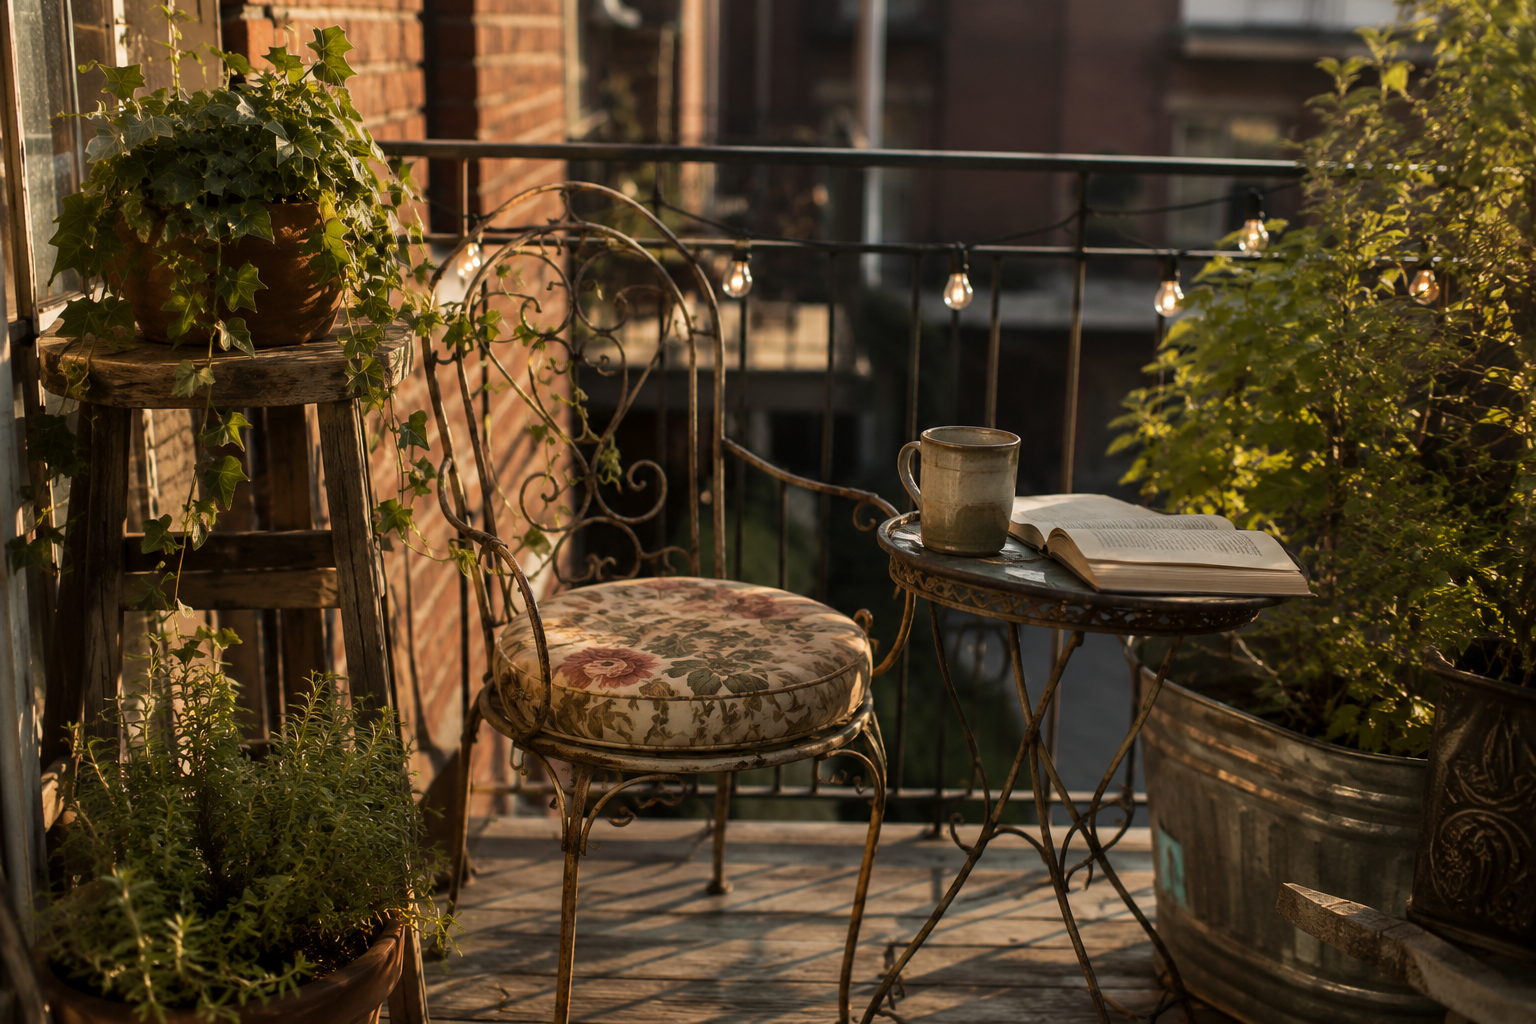
You spot it the moment you walk in. Maybe it's a worn wooden chair with perfect bones, or a ceramic lamp base with a shape so good it almost hurts. You can see exactly what it could become — and that's the real magic of vintage upcycling projects.
The best part? You don't need a workshop, power tools, or a background in design. You need a find worth rescuing, a few basic supplies, and the willingness to try. Upcycling pre-loved pieces is one of the most genuinely eco-friendly DIY projects you can take on: no new resources extracted, no flat-pack waste, no piece that looks exactly like your neighbour's.
Whether you're outfitting a Plateau apartment, refreshing a Lachine living room, or just looking for a weekend project that leaves you with something you're actually proud of, these five beginner-friendly transformations will get you started. Each one uses pieces you're likely to find right here at Éco-Dépôt — and none require more than a few hours and a modest budget.
Let's go hunting.
What Makes a Great Vintage Upcycling Candidate?
Before we get into the projects, a quick word on what to look for when you're browsing. The golden rule of upcycling: surface condition is fixable; structure is everything. A chair with scratched paint? Perfect candidate. A chair with cracked joints or a wobbling frame? Pass.
When you're scanning the shelves, focus on pieces with interesting shapes, natural materials (solid wood, ceramic, brass, cast iron), and enough heft that they feel built to last. Colour is almost always the easiest thing to change — don't let a dated olive green or a tired beige talk you out of an otherwise beautiful piece.
Before you start any project, it helps to have a basic kit ready: fine-grit sandpaper, a can of spray paint or chalk paint, clear sealant, and a good brush. Everything else is project-specific — and usually costs less than $20 at any hardware store.
Project 1: Give a Vintage Frame a New Life as Wall Art
Difficulty: Beginner | Time: 1–2 hours | Cost: $5–$20
Ornate wooden frames are one of the most reliable scores at any thrift store — and one of the most underrated. That heavy gilt frame with the peeling finish? Strip it, paint it a deep forest green or warm terracotta, and suddenly you have something that looks like it was sourced from an actual gallery.
Here's how to do it:
1. Find your frame. Look for solid wood with interesting detailing — ornate carvings and unusual proportions are your friends. Size doesn't matter much; what matters is that the wood feels solid.
2. Clean it thoroughly with a damp cloth. Remove any loose flaking finish with your fingers or a soft brush.
3. Sand lightly with fine-grit sandpaper (180–220 grit) to help paint adhere. Wipe away the dust.
4. Apply your paint. Spray paint gives the smoothest finish and gets into carved details beautifully. Chalk paint with a brush gives a more textural, matte look. Two thin coats beat one thick coat every time.
5. Once dry, choose what goes inside. A mirror insert transforms it into functional décor. A piece of fabric, a botanical print, or even a painted canvas works beautifully. Leave it empty if the frame itself is striking enough.
6. Hang and enjoy.
💡 Tip: Warm neutrals (cream, terracotta, warm black) and deep jewel tones (forest green, navy, burgundy) are having a serious moment in Montreal interiors right now. When in doubt, go bold — it's just paint.
Project 2: Turn a Vintage Lamp into a Statement Piece
Difficulty: Beginner–Intermediate | Time: 2–3 hours | Cost: $10–$30
A great lamp base is worth its weight in gold. Ceramic, brass, or cast resin bases from the 60s, 70s, and 80s have silhouettes that modern manufacturers can't seem to replicate — and they show up at thrift stores constantly, usually with a tired shade that does them no justice at all.
The transformation:
7. Look for a base with a shape you love. Don't worry about the shade — that's getting replaced. Check that the cord and socket look intact (no fraying, no cracking).
8. If the base is ceramic or resin and the colour is dated, wipe it clean and apply a coat of spray paint in your colour of choice. Matte finishes look the most intentional; metallics can be stunning on good shapes.
9. For brass or metal bases: often these just need a good clean with a brass cleaner or a gentle polish. Authentic patina is beautiful — you're not trying to make it look new.
10. Replace the shade. Drum shades in white or cream linen are the safest bet with vintage bases and widely available. A more unusual shade in a contrasting texture can take the whole piece somewhere unexpected.
11. Swap in an Edison-style vintage bulb to complete the look. The warm glow makes everything better.
💡 Tip: When in doubt about whether a lamp's wiring is safe, a local hardware store or electrician can replace the cord for a very small fee. Worth it for a piece you love.
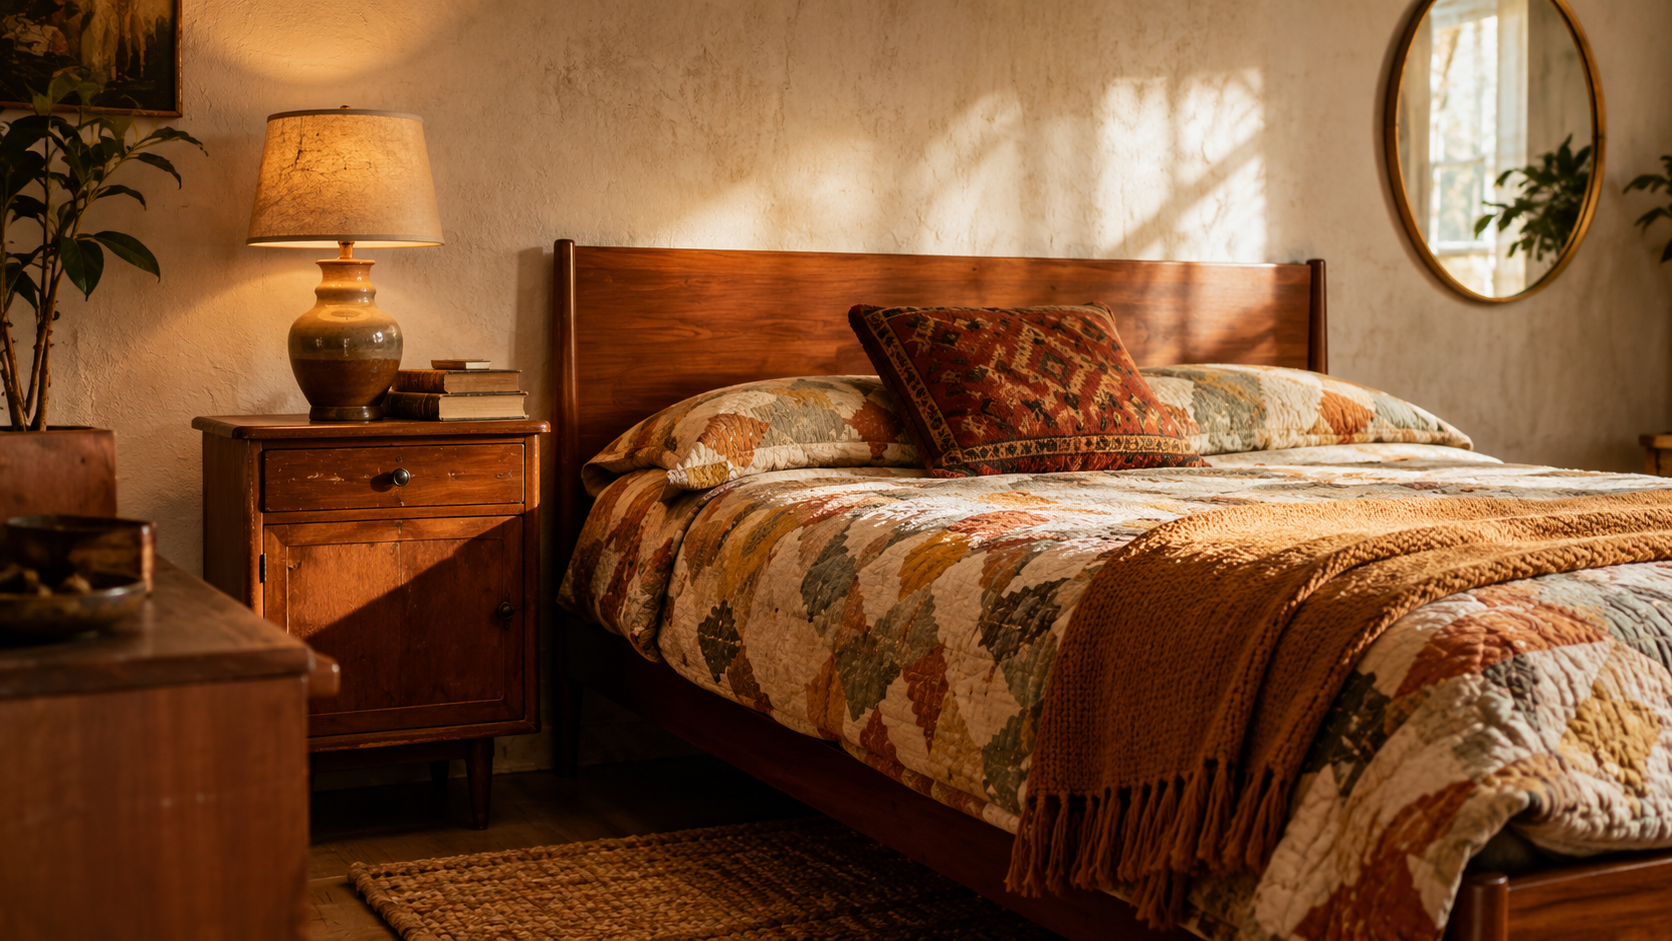
Project 3: Upcycle a Wooden Chair with Paint and New Hardware
Difficulty: Beginner | Time: Half a day (including drying) | Cost: $15–$40
A solid wood chair is one of the most satisfying upcycling projects you can take on — and one of the most useful when you're done. Thrift store chairs come in every era and style, and most of them just need a fresh coat of paint and a little attention to bring them completely back to life.
12. Find a chair with solid joints. Sit in it. Rock it slightly. If it holds steady, you're good. Wobbly joints can be re-glued with wood glue, but that's a separate project for another day.
13. Remove any cushions or fabric if present. Set aside or replace with a new fabric if you like.
14. Sand the chair lightly to help paint adhere, focusing on any glossy or varnished surfaces. Wipe clean.
15. Prime if you're going from dark wood to a light colour. Skip primer if you're going darker.
16. Apply two thin, even coats of chalk paint or furniture paint. Let each coat dry fully. Chalk paint is particularly forgiving on wood and gives a beautiful matte finish. For a two-tone look, mask off the legs or seat with painter's tape before the second colour.
17. Seal with a clear wax (if using chalk paint) or a clear matte topcoat spray for durability.
18. Add a cushion using a fabric remnant for an extra layer of character — and comfort.
💡 Tip: Chalk paint adheres to most surfaces without sanding or priming, which makes it the most forgiving option for beginners. It's widely available at hardware stores and comes in beautiful, rich colours.
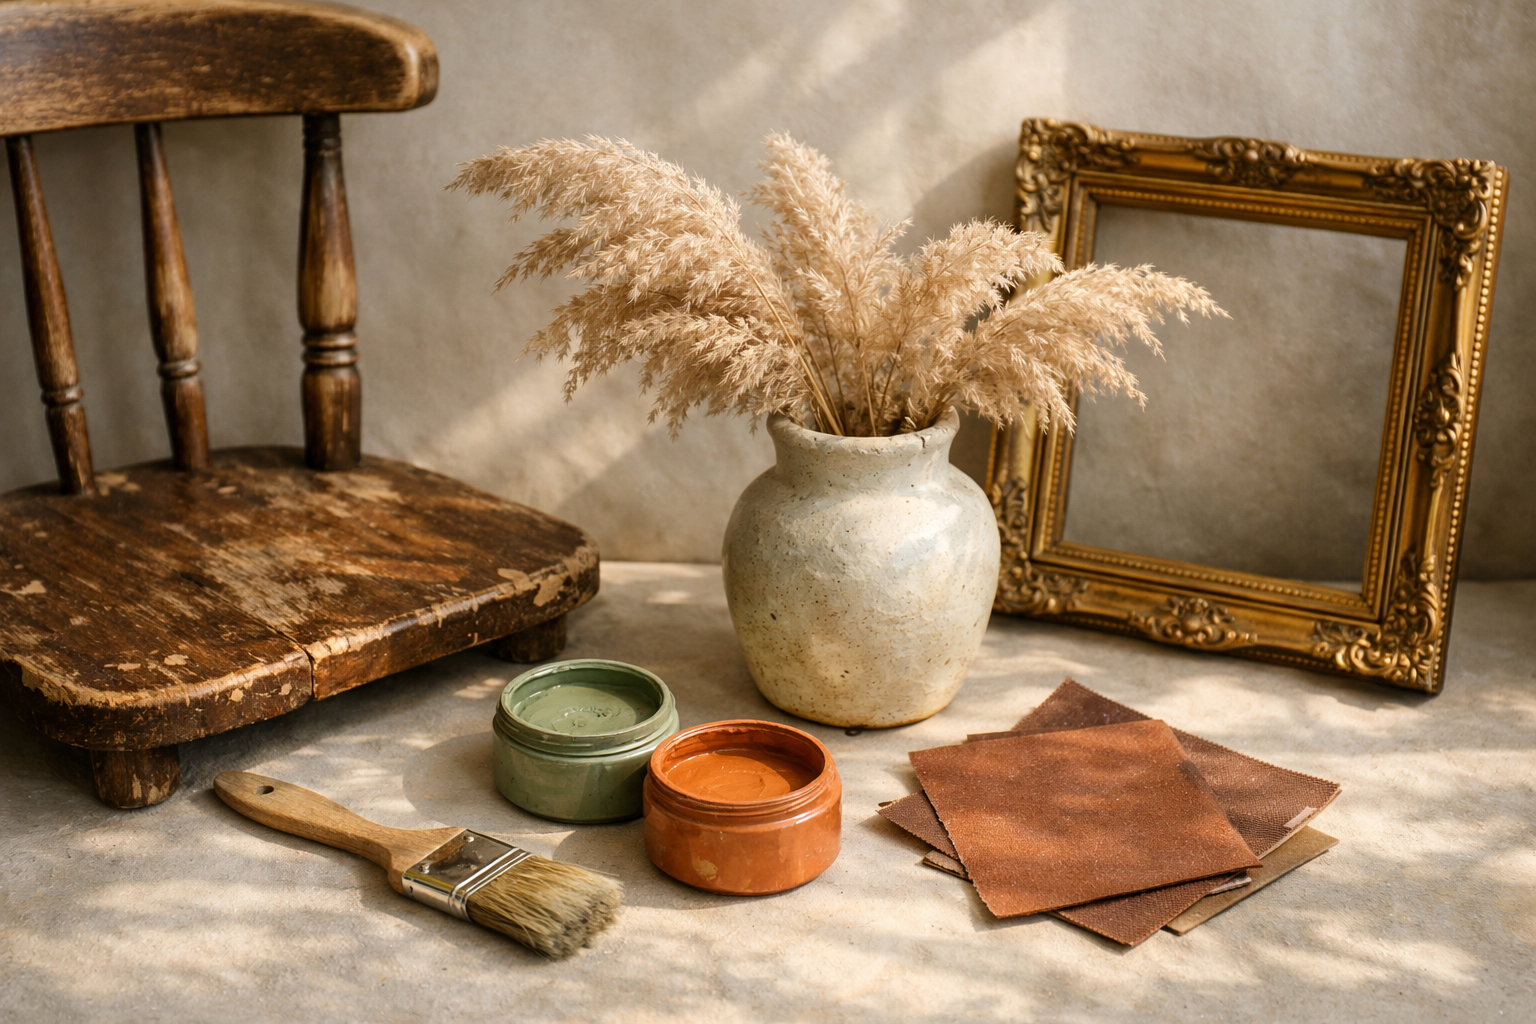
Project 4: Transform a Thrift Store Vase or Ceramic in Under an Hour
Difficulty: Beginner | Time: 1 hour + drying | Cost: $2–$10
Thrift stores are full of ceramics and vases in shapes that are genuinely beautiful — and colours that are genuinely not. This is the project where you realize that a $2 find can end up looking like it came from an actual design boutique.
Two approaches, depending on the look you're after:
Option A: Spray Paint for a Bold, Modern Finish
Clean your vase, let it dry completely, and apply 2–3 thin coats of spray paint in your chosen colour. Matte finishes read as expensive and modern. Metallic finishes (gold, bronze, matte black) catch light beautifully. Seal with a clear coat once dry.
Option B: The Baking Soda Texture Technique for a Faux Stoneware Look
Mix baking soda into your paint at roughly a 1:3 ratio (1 part baking soda to 3 parts paint) until you have a thick, slightly textured paste. Apply with a brush in irregular strokes. The result is a gorgeous matte, stoneware-like texture that looks handmade and high-end. Seal with a clear matte spray.
💡 Tip: Style your finished vase with dried pampas grass, dried botanicals, or eucalyptus branches. Dried arrangements are having a major moment in Plateau and Mile End apartments, and they need zero maintenance.
Project 5: Repurpose a Vintage Suitcase into Stylish Storage
Difficulty: Beginner–Intermediate | Time: 2–4 hours | Cost: $20–$50 total
Éco-Dépôt regularly carries antique and vintage suitcases — hard-shell beauties in tweed, leather, and canvas that have been to places you haven't and back. On their own, they're conversation pieces. With four hairpin legs attached to the bottom, they become a coffee table. Stacked two or three high, they're a bedside storage unit that no one else on your street has.
19. Find a hard-shell suitcase with good structural integrity. Check the latches, hinges, and corners. Some wear is beautiful; actual structural damage is not.
20. Clean the exterior with a damp cloth. For leather or faux leather, a conditioning product will revive the material nicely.
21. Optional: line the interior with a fabric remnant, cut-to-size and attached with craft glue or a staple gun. Felt, linen, or a graphic patterned fabric all work beautifully.
22. For the coffee table version: purchase hairpin legs from a hardware store or online (they're inexpensive and come in various heights). Attach them to the bottom of the suitcase using a drill and the provided screws. This works best with rigid, flat-bottomed cases.
23. For stacked storage: arrange two or three cases by size (largest on the bottom), ensuring the stack is stable. Use velcro strips between cases to prevent slipping.
24. Style with books, a plant, or a small tray on top.
💡 Tip: Hairpin legs typically attach to wood — if your suitcase has a composite or cardboard bottom, reinforce it with a thin piece of plywood cut to size before attaching the legs. A hardware store can cut it for you.
Antique suitcases turn up in our Lachine and Plateau stores regularly — if you have a specific size or style in mind, it's worth asking our team what's coming in.
Tips for Finding the Best Upcycling Candidates at Éco-Dépôt
The right piece makes everything easier. Here are a few insider tips for shopping with a upcycling project in mind:
Think in shapes, not colours. Colour is the most fixable thing about any piece. Train your eye to notice silhouettes, proportions, and craftsmanship first.
Natural materials respond best. Solid wood, ceramic, brass, and cast iron take paint, refinishing, and repair far better than particle board, plastic laminates, or composite materials.
Check the structure. Pick up chairs. Open drawers. Wobble table legs gently. Cosmetic issues are your friend; structural ones are a project in themselves.
Come back often. Our inventory turns over every week — what wasn't there last Tuesday might be there today. Following us on Instagram
Following us on Instagram @ecodepotmontreal is the easiest way to catch new arrivals before they walk out the door.
Your Next Project is Already Waiting
Vintage upcycling projects don't require expertise — they require curiosity. The five projects above cover everything from a one-hour vase transformation to a weekend furniture rescue, and every single one starts with a single walk through our aisles.
That's what makes eco-friendly DIY projects so satisfying: you're not buying something new, you're rescuing something real. Something with weight, character, and a story that was already halfway told before you arrived. You're just writing the next chapter.
Found something? Tag us @ecodepotmontreal. We love seeing what you make.