Cart
0
So you scored something special on your last visit to EcoDepot — maybe a buttery 1970s suede jacket, a silk blouse with the most beautiful drape, or a wool coat that looks like it walked straight out of a 1960s Montreal winter. The thrill of the find is real. But now comes the question every new vintage lover eventually asks: how do I actually take care of this thing?
Here's the good news: vintage clothing already survived decades. With a little knowledge and the right approach, your new-to-you piece can last another generation. Vintage clothing care isn't complicated — it just requires slowing down, understanding what you're working with, and resisting the urge to throw everything in the washing machine on hot.
This guide walks you through everything: how to identify your fabric, how to wash (and when not to), tackle stains, dry properly, iron safely, and store your pieces so they stay beautiful for years to come. Whether you're new to vintage or adding to a well-loved collection, consider this your essential handbook.
Step 1 — Read the Clues Before You Clean
Before you do anything to a vintage garment, play detective.
Modern clothing comes with care labels that tell you exactly what to do. Vintage clothing often doesn't — in Canada and the US, care labels only became mandatory in the early 1970s. Anything older than that is a mystery you'll need to decode yourself.
Start by examining the fabric. Run it through your fingers. Does it feel cool and smooth (likely silk or rayon)? Warm and slightly fuzzy (wool)? Crisp and breathable (cotton)? Slippery and slightly plastic-like (synthetic — polyester or nylon)? The fabric tells you almost everything you need to know about how to care for it.
If there is a label, read it carefully — and follow it. "Dry clean only" on a vintage garment is not a suggestion. Older fabric dyes and construction techniques can be far more fragile than modern equivalents, and a single wrong wash can mean a shrunken, distorted, or permanently stained piece.
The golden rule of vintage clothing care: when in doubt, do less. A gentle hand wash is always safer than a machine cycle. Spot cleaning beats full immersion. Air drying beats any dryer. You can always do more later — you can't undo a ruined garment.
Step 2 — Sort Your Vintage Finds by Fabric
Not all vintage is created equal, and treating every piece the same is one of the most common mistakes new collectors make. A 1960s cotton shift dress can handle a gentle machine wash. A 1940s silk blouse cannot.
Before washing anything, sort your vintage pieces into three categories:
Delicate (handle with maximum care): silk, lace, chiffon, anything beaded or embellished, velvet, rayon/viscose, anything with metal hardware or vintage zippers.
Sturdy (more forgiving, but still treat gently): cotton, denim, most polyester and nylon from the 1970s onward, canvas.
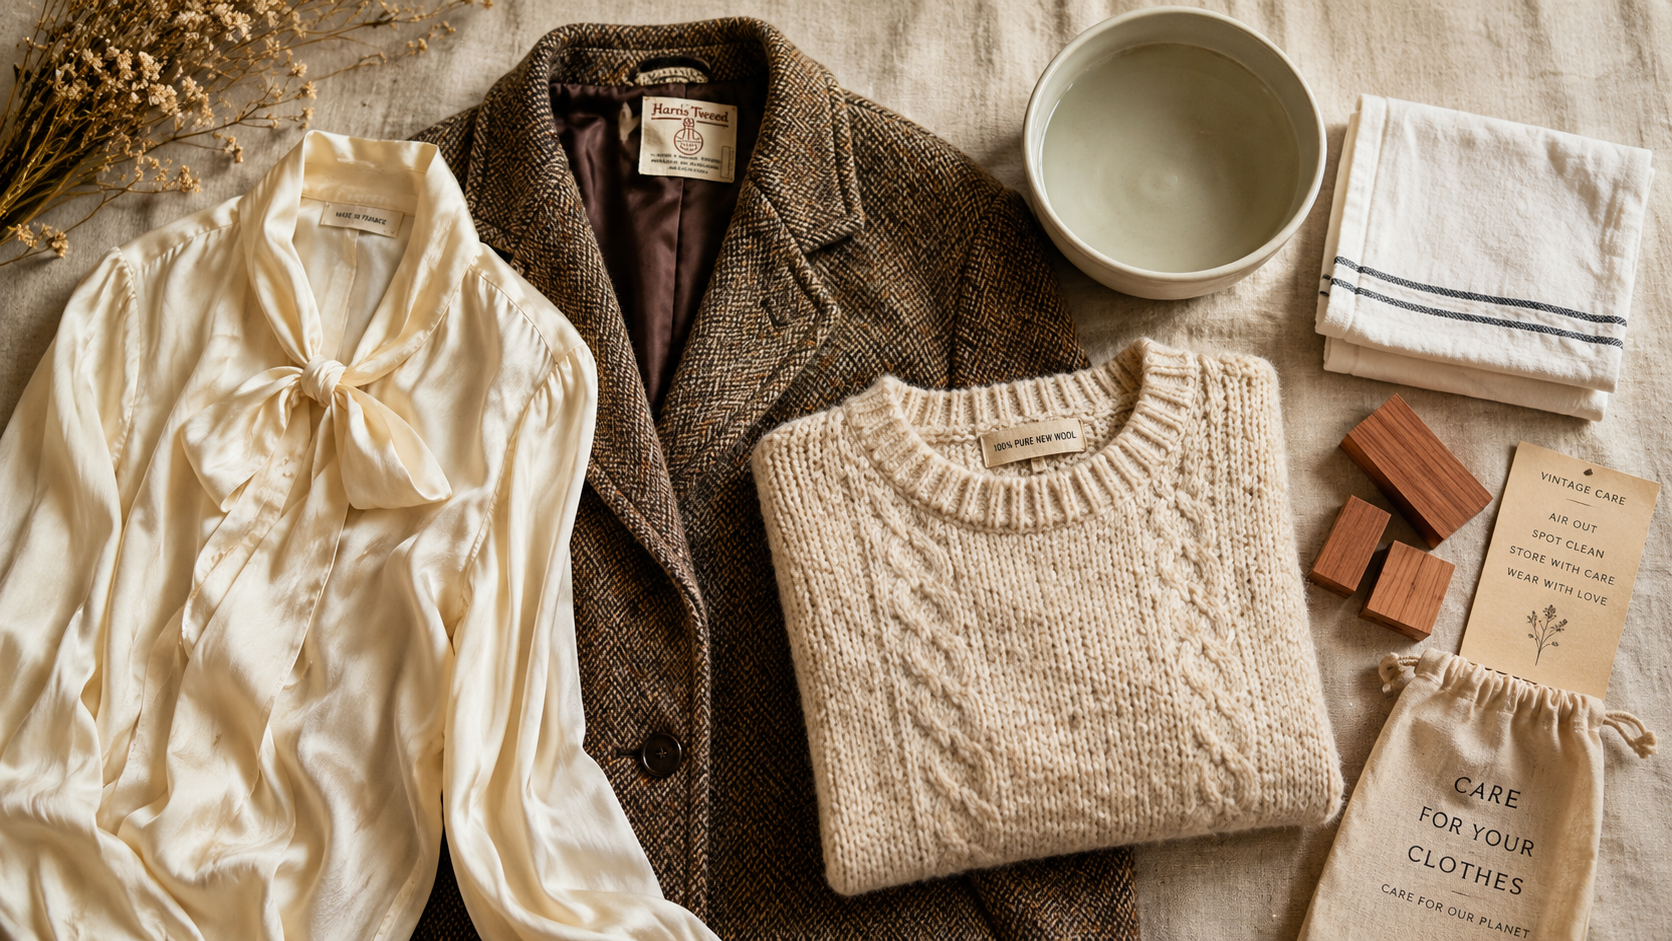
Specialist (requires specific or professional care): wool, cashmere, leather, suede, heavily structured garments like tailored blazers, anything with significant embroidery.
When you're not sure which category something falls into, default to delicate. It's always the safer choice.
Step 3 — How to Wash Vintage Clothes the Right Way
Washing vintage clothing is one of those skills that pays dividends for years. Get it right, and your pieces stay beautiful. Rush it, and you risk permanent damage. Here's how to approach it.
Hand Washing: Most Vintage's Best Friend
For the majority of vintage clothing — especially anything delicate — hand washing is the gold standard. It's gentler, gives you more control, and dramatically reduces the risk of damage compared to machine washing.
Here's the process:
Step 1: Fill a clean basin or sink with cool or lukewarm water. Never hot — heat is the enemy of most vintage fabrics, causing shrinkage, colour loss, and fibre damage.
Step 2: Add a small amount of gentle, pH-neutral detergent. Look for products formulated for delicates or wool. A little goes a long way.
Step 3: Submerge the garment and gently agitate the water with your hands. Don't scrub, wring, or twist. Let the water do the work.
Step 4: Soak for 10–15 minutes, then drain and refill with clean cool water for rinsing. Repeat until no soap remains.
Step 5: Gently press the water out of the garment — never wring or twist. Lay it on a clean dry towel and roll the towel up to absorb excess moisture.
When Machine Washing Is Acceptable
Some vintage pieces can handle a careful machine wash — specifically sturdier cotton garments and certain synthetics from the 1970s and 1980s. If you're going this route:
Always use cold water on a delicate or hand-wash cycle. Place the garment in a mesh laundry bag to reduce friction. Use a gentle detergent and skip the spin cycle if possible — or use the lowest spin setting available.
What to Never Put in the Washing Machine
The following should never go in a washing machine, full stop: wool, silk, rayon, velvet, lace, anything beaded or sequined, leather or suede, anything with metal hardware (buckles, vintage zippers, decorative clasps), and any garment with significant structure.
Step 4 — Tackle Stains Without Damaging the Fabric
Stains on vintage clothing require patience, not aggression. The cardinal rule: blot, never rub. Rubbing pushes stains deeper into fibres and can cause permanent damage to fragile vintage fabric.
Here's how to handle the most common vintage stain scenarios:
Yellow underarm stains are incredibly common on older garments — it's a natural result of age and previous wear. Try soaking the affected area in a mixture of white vinegar and cool water (about 1:3 ratio) for 30 minutes before gently washing. An oxygen-based cleaner can also work well. Never use chlorine bleach on vintage — it weakens fibres and can cause irreversible yellowing or damage, especially on anything that isn't bright white cotton.
General yellowing from age (often seen across the whole garment) can sometimes be improved with an oxygen-based soak for white or light-coloured cottons. Laying white cotton pieces in indirect sunlight while slightly damp can also help gently brighten them over time.
Oil or grease stains: Sprinkle cornstarch or talcum powder on the stain, let it sit for several hours to absorb the oil, then brush off gently. Follow with a tiny amount of gentle dish soap applied with a soft cloth, blotting carefully.
Musty or mildewy smell: This is extremely common with vintage finds. Air the piece outside in indirect sunlight for several hours — UV light is a natural deodorizer. For washable fabrics, a baking soda soak (a few tablespoons in cool water) can help neutralize odours.
A word of warning: Perspiration stains are among the toughest stains to remove from vintage fabric. If a piece has heavy underarm staining when you're considering buying it, factor that into your decision — removal is possible but not guaranteed.
When in doubt about a serious stain, or when dealing with a particularly precious piece, take it to a professional dry cleaner with experience handling vintage and delicate garments. Not all dry cleaners are equal — always ask specifically about their experience with vintage clothing before handing anything over.
Step 5 — Dry Vintage Garments the Right Way
This step is simple but non-negotiable: never put vintage clothing in the dryer.
Heat is destructive to virtually all vintage fabrics. It shrinks wool, warps and melts certain synthetics, weakens delicate fibres like silk and rayon, and can cause colours to fade unevenly. Even a "low heat" setting poses too much risk.
Instead:
Lay flat to dry for most garments, especially knits, wool, and anything that might stretch or distort when hung while wet. Lay the piece on a clean dry towel on a flat surface, reshaping it gently to its original dimensions.
Hang dry for structured pieces like blazers, dresses, and blouses — but use a wide, padded hanger to support the shoulders properly. Wire hangers can distort shoulder seams and leave rust marks on delicate fabric.
Dry away from direct heat (no radiators, no direct sunlight while wet). A well-ventilated room at room temperature is ideal. Drying may take longer than you're used to — patience is simply part of the vintage care process.
Step 6 — Iron and Steam Without Causing Damage
Vintage garments can be ironed and steamed safely — you just need to know which approach suits which fabric, and always use a protective barrier between your iron and the garment.
Always use a pressing cloth. This is a thin piece of cotton fabric (a clean cotton pillowcase or tea towel works perfectly) placed between the iron and your vintage garment. It protects delicate fibres and prevents shine marks on darker fabrics like wool.
Temperature guide by fabric:
-
Cotton: medium to medium-high heat, steam is fine
-
Linen: medium-high heat, steam is helpful
-
Wool: medium heat, use a damp pressing cloth rather than steam directly
-
Silk: low heat, no steam — steam can leave water marks on silk
-
Rayon/viscose: low heat, inside out, pressing cloth essential
-
Polyester and most synthetics: low heat only, or avoid ironing entirely
Steaming is often the safer option for vintage clothing, particularly wool and structured garments. A handheld garment steamer held a few centimetres away from the fabric relaxes wrinkles without the direct contact risk of an iron. Many experienced vintage collectors prefer steamers for everyday use and reserve the iron only for specific situations.
Never iron: velvet (always steam, holding the fabric over the steamer rather than pressing down), anything beaded or sequined, anything with crinkle texture that's supposed to be wrinkled, or leather and suede.
Pro tip: Steam works wonders on vintage wool coats and blazers. Hold the steamer 3–5 centimetres away and let the steam penetrate the fabric — never press the steamer head directly against the cloth.
Step 7 — Store Vintage Clothing Like a Pro
How you store your vintage pieces matters just as much as how you wash them. Improper storage is responsible for much of the damage that happens to vintage clothing between wearings.
Hanging vs. Folding
Not everything should be hung. Heavy beaded gowns, chunky knits, and heavy woolens should be folded — the weight of the garment pulls down on the fibres over time, causing stretching and distortion at the shoulders.
Structured pieces like tailored blazers, coats, and dresses hang best. Always use wide, padded hangers or wooden hangers that properly support the shoulder seam. Never use wire hangers — they're too narrow, distort shoulder shapes, and can leave rust marks on delicate fabric.
The Right Environment
The enemies of vintage clothing are heat, light, humidity, and pests. The ideal storage environment is cool, dark, and dry.
Avoid storing vintage in basements, which tend toward dampness, or in attics, which experience extreme temperature swings. A temperature-stable closet in your living space is ideal. Cedar-lined drawers or closets are excellent — cedar naturally repels moths and absorbs moisture.
Protecting Against Moths and Pests
Moths are the great nemesis of vintage wool and cashmere. Cedar blocks or sachets of dried lavender are your natural allies here — place them in drawers and closet corners, and replace or refresh them regularly.
Avoid traditional mothballs. The chemicals in mothballs can damage fibres over time and leave a persistent odour that is nearly impossible to fully remove from vintage clothing — a high price to pay for pest prevention.
Regularly air out stored pieces, even if you're not wearing them.
Long-Term Storage for Special Pieces
For particularly precious items — a treasured vintage gown, a collectible piece you want to preserve for years — invest in proper archival storage. Wrap the piece in acid-free tissue paper, which prevents colour transfer and protects delicate fibres. Store in acid-free boxes or breathable cotton garment bags. Avoid plastic bags and containers, which trap moisture and can cause mildew and fabric deterioration over time.
Store special pieces flat where possible, and check on them periodically to air them out and inspect for any signs of pest damage or moisture.
Step 8 — Know When to Call in a Professional
Some vintage pieces need more than home care can offer, and recognizing this early can save a garment that might otherwise be damaged by a well-intentioned but ill-advised DIY attempt.
Take a piece to a professional dry cleaner when: the care label says "dry clean only," the garment has significant staining you're not confident treating at home, it's a heavily structured or tailored garment (the internal structure can be damaged by washing), or it's heavily embellished with beading, sequins, or embroidery.
When choosing a dry cleaner, ask specifically whether they have experience with vintage and delicate garments. Not all do, and a dry cleaner unfamiliar with older fabrics can cause as much damage as a wrong home wash.
For truly irreplaceable pieces — a family heirloom, a rare designer find — consider a professional textile conservator rather than a standard dry cleaner. Conservators are trained to handle, clean, and repair historic textiles without causing further damage, and they're the right choice when a piece truly matters.
Your Vintage Finds Are Worth the Care
Vintage clothing already lived one full life before it came to you. The wool coat that's now hanging in your Plateau apartment may have kept someone warm on a Montreal commute in 1965. That silk blouse might have been someone's favourite for a decade. When you care for these pieces properly, you're not just protecting an item of clothing — you're extending a story, and making the most sustainable fashion choice there is.
Every vintage garment you preserve is one fewer piece destined for a landfill, and one more beautiful thing that gets to exist a little longer in the world.
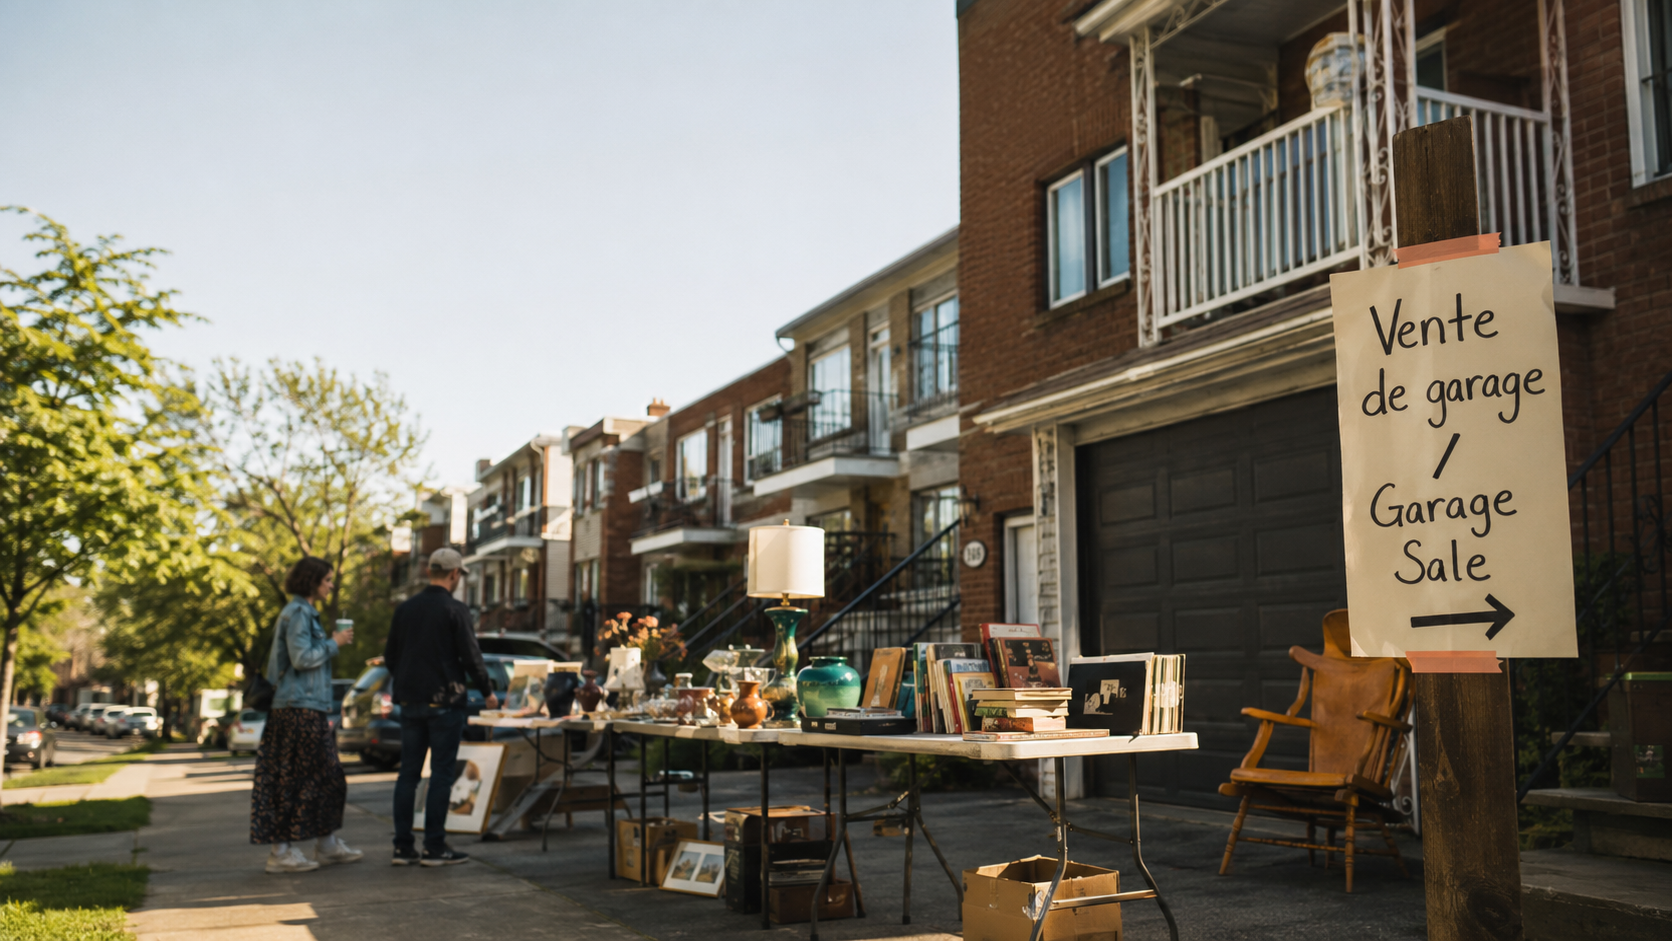
Ready to add to your collection? EcoDepot's racks are restocked every week with pre-loved clothing, accessories, and one-of-a-kind finds waiting for their next chapter. Come explore — you never know what trouvaille is waiting for you. Visit us at our Lachine or Plateau locations, or follow us on Instagram @ecodepotmontreal for first looks at new arrivals.