Chariot
0
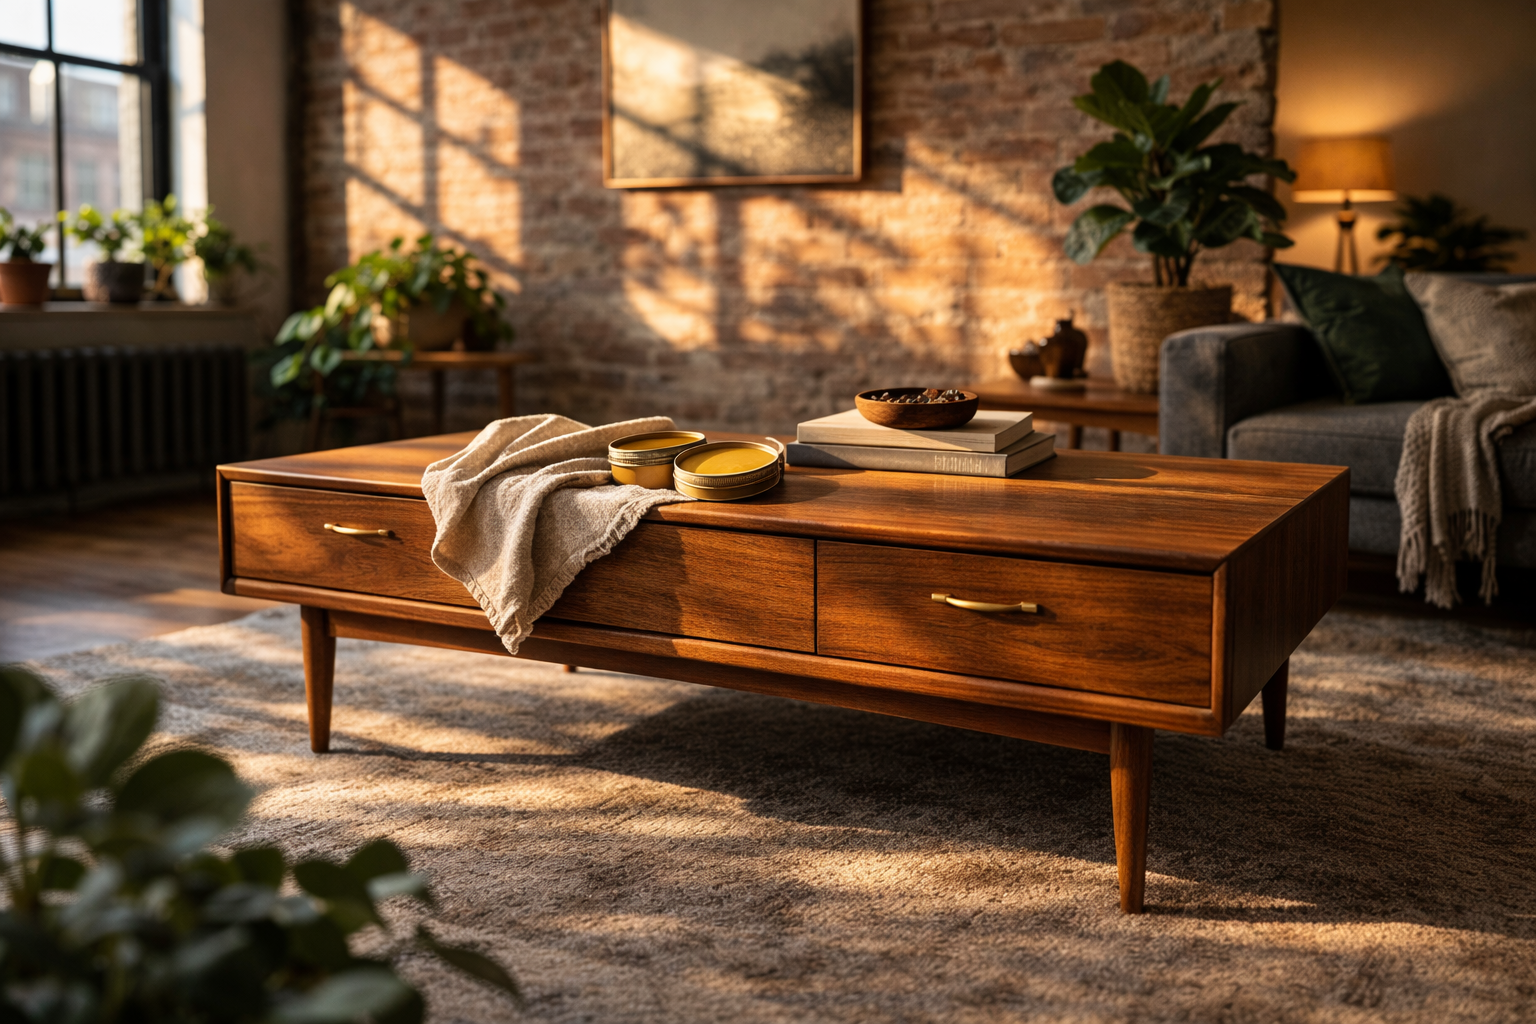
You spotted it the moment you walked in. A mid-century credenza in warm teak, original brass hardware, a patina that took six decades to develop. You brought it home. Now what?
Caring for vintage wooden furniture isn’t complicated — but it is different from caring for something you ordered flat-packed last week. These pieces have history written into the grain. The right approach protects your investment, preserves the character that makes it irreplaceable, and means your trouvaille could still be stunning in another 60 years.
This guide walks you through everything, from the moment you carry a pre-loved piece through your door to the seasonal wooden furniture maintenance tips that keep it looking its best year-round. Whether you’re a first-time vintage buyer or a seasoned collector, consider this your complete reference for vintage wooden furniture care.
Before You Start — Know What You’re Working With
Vintage wood behaves differently from modern furniture for one simple reason: time. Older pieces were often built with solid hardwoods — teak, walnut, oak, mahogany — and finished with materials that are no longer common. Before you reach for a cleaning product, you need to identify your finish. Using the wrong cleaner on the wrong finish can cause irreversible damage.
The Three Finish Categories
• Shellac: A natural resin finish common on pieces made before the 1950s. Beautiful, but sensitive to alcohol and moisture.
• Lacquer, varnish, or polyurethane: More durable and resistant to moisture. Most mid-century and later pieces fall into this category.
• Oil or wax: A penetrating finish that soaks into the wood rather than sitting on the surface. Common on Scandinavian teak pieces.
The Finish Test (Do This First)
You’ll need a cotton swab and a small amount of denatured alcohol (methylated spirits). Choose an inconspicuous spot — the back of a leg, inside a drawer, the underside of a shelf.
1. Dab the cotton swab with a small amount of denatured alcohol.
2. Rub it gently over the test area.
3. Watch what happens to the finish.
If the finish dissolves or gets tacky, you have shellac — and you’ll want to clean very gently (more on that below). If it stays the same, you’re working with lacquer, varnish, polyurethane, or oil — and you have a lot more flexibility.
Step 1 — The First 24 Hours: What to Do When You Bring a Piece Home
This is the step every other guide skips. You’ve just scored a beautiful piece of second hand furniture — maybe from a thrift shop, maybe an estate sale, maybe passed down through a family. Before you clean anything, there are a few things to check.
Inspect for Pests
Gently open all drawers and doors. Look for small round holes in the wood (a sign of furniture beetles or woodworm), sawdust-like powder, or any evidence of nesting. Check the underside and back panels too. If you find signs of active infestation, isolate the piece and consult a specialist before bringing it inside.
Air It Out
Vintage pieces — especially drawers and enclosed cabinets — often carry decades of absorbed smells. Before doing anything else, let the piece breathe. Open all doors and drawers and leave it in a well-ventilated area, ideally with some fresh air circulating, for 24–48 hours.
Tackle Odors Early
If airing out isn’t enough, try these proven methods:
• Baking soda in drawers: Sprinkle generously, close the drawer, leave for 24–48 hours. Repeat as needed.
• Activated charcoal: Place small bowls inside enclosed cabinets. Works wonders for musty smells.
• Vinegar and water solution: A 1:1 mix on a cloth, wiped inside the drawer (for painted or less delicate interior surfaces). Let it fully dry.
• Stubborn cigarette odors: These may require a coat of clear shellac on the interior surfaces to seal the smell in. This is a last resort but an effective one.
Quebec tip: Our winters are notoriously dry — heated indoor air can drop humidity well below 30%. Give your piece a few days to acclimate to your home’s temperature and humidity before doing any cleaning or conditioning. Rushing this step can cause checking (small surface cracks) in the wood.
Step 2 — Dusting and Routine Surface Cleaning
Regular dusting is the most important wooden furniture maintenance tip there is. Dust that sits on the surface attracts moisture and can eventually dull the finish or cause scratching when moved around. The key is technique — and the right tools.
What You’ll Need
• Soft, lint-free cloths (microfibre or old cotton T-shirts work perfectly)
• A soft-bristled brush for carved details and hardware
• A vacuum with a brush attachment set to low suction (for intricate areas)
Avoid: paper towels (too abrasive), feather dusters (they push dust around rather than capturing it), and any cloth with texture that could scratch.
The Dusting Routine (Step-by-Step)
1. Remove any objects from the surface. Take out drawers if possible.
2. Start at the top and work your way down — dust falls, so you’ll want to catch it as you go.
3. Always wipe along the grain, never across it.
4. Use the soft brush to work carved areas, moulding, and around hardware.
5. If light cleaning is needed, dampen your cloth slightly — just barely moist, never wet — and wipe along the grain. Follow immediately with a dry cloth.
For display pieces, a weekly dust is ideal. For high-use pieces like dining tables or desks, a quick wipe after each use goes a long way.
Step 3 — Deep Cleaning (Based on Your Finish Type)
A deep clean removes built-up grime, grease, and the accumulated residue of years. Aim for this two to three times a year on pieces that get regular use. The golden rule: always start with the least aggressive method and test in an inconspicuous spot first.
For Lacquer, Varnish, Polyurethane, or Oil Finishes
The most effective everyday cleaner is a quality oil soap — Murphy’s Oil Soap is widely available in Montreal pharmacies and hardware stores. Unlike dish soap, it cleans and moisturizes the finish at the same time.
Alternatively, make your own: a classic formula used by restorers for generations is four parts white spirit (mineral spirits) to one part linseed oil. It removes grime without damaging the finish and leaves the wood nourished.
The Deep Clean Method (Step-by-Step)
1. Mix a small amount of oil soap with warm water, or prepare your white spirit/linseed oil solution.
2. Dampen your cloth in the solution — wring it out well. The cloth should feel damp, not wet.
3. Work in sections, always along the grain. Use circular motions only for stubborn spots, then finish with along-the-grain strokes.
4. Follow with a clean, barely-damp cloth to remove any residue.
5. Dry immediately and thoroughly with a clean, dry cloth. Never let moisture sit on the wood.
For Shellac Finishes
Handle with extra care. Water and alcohol — even diluted — can cloud or dissolve shellac. Use only a barely-damp cloth with plain water, or a specialist shellac-safe cleaner. If the piece has significant build-up or damage to the finish, this is a job for a professional restorer. Attempting a DIY deep clean on valuable shellacked furniture can reduce its value significantly.
For Stubborn Grease and Fingerprints
If the oil soap isn’t cutting through sticky grime or oily build-up, mineral spirits (available at any quincaillerie in Montreal) work effectively without damaging most finishes. Apply a very small amount to a clean cloth, test first, and wipe gently along the grain before the mineral spirits evaporate. Follow with a clean dry cloth.
Important: Avoid silicone-based polishes and aerosol sprays. They build up over time, attract dust, and can actually dull the natural beauty of vintage wood rather than enhance it.
Step 4 — Tackling Stains, Scratches, and Problem Areas
Before you reach for any remedy, consider this: the patina on vintage wood — including the small marks and variations that accumulate over decades — is part of what makes it beautiful and valuable. Not every imperfection needs to be erased. That said, here’s how to handle the ones that do bother you.
Water Rings and White Marks
Mix a small amount of non-gel white toothpaste with baking soda to form a paste. Apply to the mark with a soft cloth, rub very gently in the direction of the grain, then wipe clean. This works by lightly abrading the cloudy layer in the finish. Always test on an inconspicuous area first.
Light Surface Scratches
For shallow scratches that don’t go all the way through the finish, try rubbing a walnut meat along the scratch — the natural oils can help fill and disguise light marks on darker woods. Matching wax repair crayons (available at most quincailleries) work well for slightly deeper scratches. Apply, buff, done.
Mildew and Mould
Mix distilled white vinegar and linseed oil (or olive oil) in equal parts. Wear rubber gloves. Dip a clean cloth into the solution and rub gently along the grain, focusing on affected areas. Wipe away with a dry cloth. This is effective for surface mildew; deep mould penetration may require professional help.
When to Call a Professional
Some situations are better left to experts — particularly if the piece has significant monetary or sentimental value. Consider professional restoration for: veneer lifting or bubbling, structural joint issues, finish that has completely deteriorated, or any piece you suspect might be a significant antique. Stripping and refinishing should be a last resort, as it can permanently reduce the value of genuine antiques.
Step 5 — Polishing and Protecting
Waxing is the final step in how to clean antique wood furniture properly — and the most satisfying. A good wax coat seals the surface, protects against moisture and minor abrasion, and brings out the natural depth of the grain in a way no spray polish can match.
Choosing the Right Wax
For vintage pieces, look for a paste wax that contains beeswax or carnauba wax. These natural waxes have been used on furniture for centuries — they nourish the wood, provide a durable protective layer, and give a warm, non-plastic sheen. Avoid synthetic waxes and any product with silicone.
How to Wax (Step-by-Step)
1. Ensure the piece is completely clean and dry before starting.
2. Apply a thin, even coat of paste wax using a soft cloth. A little goes a long way.
3. Work in sections, along the grain, using circular motions to work the wax into carved areas.
4. Allow to dry according to the product instructions (usually 15–30 minutes).
5. Buff with a clean, dry cloth to bring up the sheen. You’ll feel the difference immediately.
Two coats of wax per year is plenty for most pieces. More than that and you risk build-up.
Ongoing Wooden Furniture Maintenance Tips — Your Seasonal Routine
Vintage wooden furniture care is less about grand interventions and more about consistent habits. In Montreal especially, the dramatic swings between our humid summers and bone-dry winters create real challenges for wood. Here’s how to think about care through the seasons.
The Humidity Factor
Wood expands and contracts with changes in humidity. Extreme dryness (common in Montreal apartments from November to March, when the heating is running hard) causes wood to dry out, crack, and warp. Aim to keep indoor humidity between 40–50% using a humidifier. Keep your pieces away from radiators and heating vents — the dry, direct heat is one of the fastest ways to damage vintage wood.
On the flip side, too much humidity in summer can cause swelling and joint loosening. If your apartment gets very humid in July and August, a dehumidifier (or simply good air circulation) helps.
Sun and Light Exposure
Direct sunlight fades and dries wood quickly. Keep vintage pieces out of direct sun — particularly important in those Plateau walk-ups and Mile End lofts with the big south-facing windows. A UV-filtering window film is a worthwhile investment if you love both natural light and your furniture.
Everyday Habits That Make a Difference
• Use coasters, felt pads under objects, and table runners on dining surfaces without exception
• Always lift furniture — never drag it — to avoid stress on joints and legs
• Wipe up spills immediately — moisture and wood are not friends
• Inspect joints and veneer annually for early signs of loosening or lifting
A Simple Seasonal Checklist
• Spring: Deep clean + wax. Check for any winter damage.
• Summer: Monitor humidity. Keep away from AC vents. Light dusting as needed.
• Fall: Light clean and inspect before heating season starts. A good time for a second wax coat.
• Winter: Run a humidifier. Keep pieces away from radiators. Regular dusting.
Restore vs. Refinish: Knowing the Difference
There’s an ongoing debate in the vintage world about restoration versus refinishing — and it’s worth understanding before you make any irreversible decisions.
Restoration means cleaning, repairing, and preserving the original finish and character of the piece. This is almost always the right choice for genuine antiques and high-quality vintage furniture. The original patina and finish are part of the value.
Refinishing means stripping the original finish and applying a new one — painting, staining, or lacquering from scratch. This makes sense for non-antique pieces with severe damage, or pieces where the original finish is beyond saving. But stripping a genuine antique can permanently reduce its monetary value, so approach this with caution.
When in doubt, consult a professional restorer before taking any irreversible steps. Montreal has a wonderful community of craftspeople who specialize in furniture restoration — a quick consultation is often all you need.
Your Vintage Piece Deserves a Second Act
That teak credenza, that walnut side table, that oak armoire that’s been sitting in someone’s basement for 40 years — these pieces were made to last. Good vintage wooden furniture care isn’t about complicated products or hours of labour. It’s about knowing your finish, cleaning gently and consistently, protecting against the elements, and appreciating the history that every grain and patina tells.
The reward? A home full of pieces with real character — one-of-a-kind finds that no flatpack catalogue can replicate, cared for in a way that means they’ll outlast everything else in your space.
New vintage wooden furniture arrives every week at EcoDepot Montreal’s Lachine and Plateau locations. When you find your next trouvaille — that piece with six decades of stories in the grain — you’ll know exactly how to take care of it. Come see what’s waiting for you.