Chariot
0
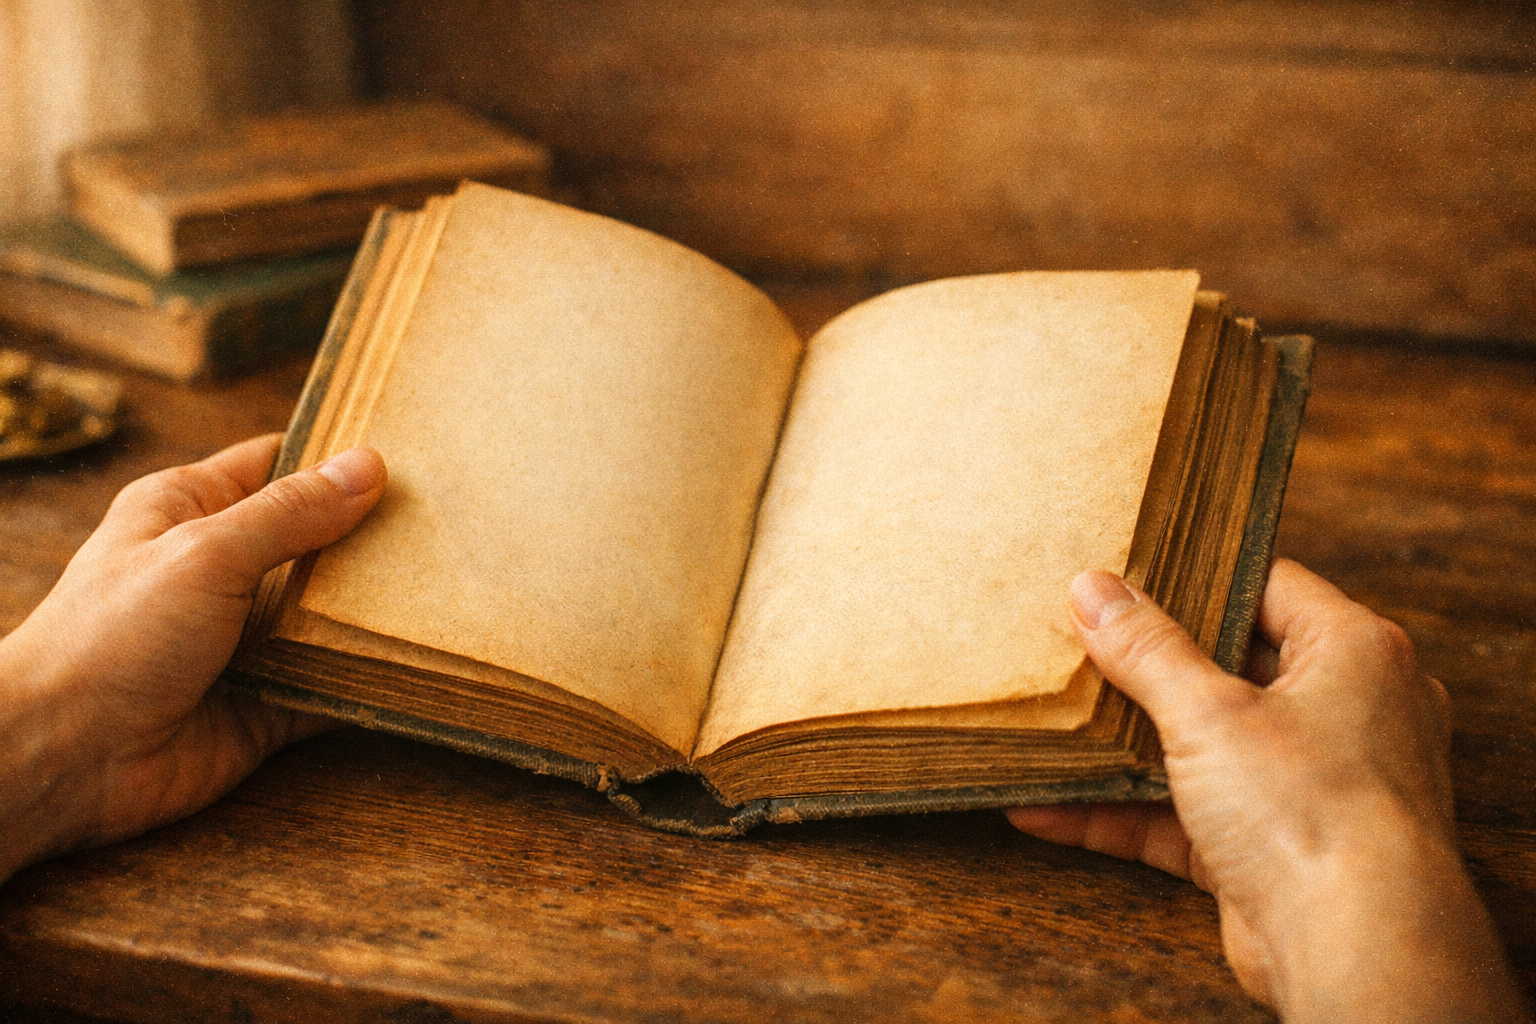
You've just found it. Tucked between a stack of encyclopedias and a battered atlas, a gorgeous cloth-bound hardcover with a faded spine and gold lettering barely visible through decades of dust. The pages have that warm amber glow of age. There's a small handwritten inscription inside the front cover. It's clearly something — and for a few dollars, it can be yours.
But then the questions start. Is it too far gone? Do you need special equipment? Will you accidentally make it worse?
Here's the truth: restoring vintage books is one of the most satisfying things you can do with a thrift find, and it's far more approachable than most people think. You don't need to be a librarian or a professional conservator. You need patience, the right tools, and a step-by-step plan. This guide gives you all three — so your next trouvaille can go from dusty shelf to pride of place.
Before You Start: Assessing Your Vintage Find
Before reaching for any cleaning supplies, take a few minutes to really look at what you have. A good assessment saves time, sets realistic expectations, and tells you whether a book is a DIY project or one for a professional.
What to check:
-
Cover: Is it cloth, paper, leather, or a dust-jacketed hardcover? Any tears, water damage, or structural warping?
-
Spine: Is it cracked but intact, or is the binding fully separating from the pages?
-
Pages: Look for foxing (brown age spots), yellowing, water stains, or brittleness. Gently fan the pages — do any fall loose?
-
Smell: Musty is normal and fixable. A sharp, ammonia-like smell or visible fuzzy growth suggests active mould — handle with caution.
-
Insects: Check the gutter (where pages meet the spine) for any signs of bookworm damage (tiny holes in a trail pattern).
The go/no-go question: Surface dirt, dust, musty odours, light foxing, and minor loose pages are all very DIY-friendly. Structural collapse, active mould colonies, severely brittle pages, or significant water damage are situations where a professional book conservator is worth consulting — especially if the book has real value.
What You'll Need
The good news: a complete vintage book restoration kit costs under $20 and most of it you may already have at home.
-
Soft-bristled brush or dry paintbrush — for loose dust removal
-
Art gum eraser or white vinyl eraser — for scuffs and light surface marks
-
Microfibre cloths — for wiping covers
-
White vinegar diluted in water (1:1 ratio) — light mould treatment on covers
-
Baking soda or activated charcoal — for odour absorption
-
Wax-based leather conditioner (like Leather Honey or similar) — for leather-bound books
-
PVA bookbinding glue — for loose pages and spine repair (available at art supply stores)
-
Book repair tape — archival-quality only; found at art or office supply stores
-
Acid-free tissue paper — for wrapping and storing delicate books
-
Gloves — especially if dealing with mould or very old books
Step 1 — Remove Loose Dust and Debris
This is your starting point for every book, no matter the condition.
Hold the book closed firmly with one hand. Using your soft-bristled brush, work from the spine outward toward the page edges — never inward. Brushing inward pushes grit between the pages where it can scratch and damage over time.
Pay special attention to the "head" of the book (the top edge of the pages) — this is where dust accumulates most heavily. Brush gently but thoroughly.
For books that are particularly dusty, a vacuum with a soft brush attachment on low suction works beautifully on page edges and the outside of the cover. Do this step outdoors or over a trash bin — old book dust can be surprisingly prolific.
While you're at it, take note of anything loose inside the book: old bookmarks, pressed flowers, letters, ticket stubs. These accidental inclusions are part of what makes vintage books so wonderful. Set them aside carefully — they're worth keeping.
Step 2 — Clean the Cover
How you approach this step depends entirely on what your cover is made of.
Cloth or Paper Covers
Start dry. An art gum eraser works remarkably well on scuff marks and surface grime on cloth covers — use light, even strokes and brush away the eraser residue with your soft brush.
For more stubborn marks, a microfibre cloth barely dampened with water can do the job. The key word is barely — you want the cloth almost dry to the touch. Work in gentle circular motions and let the cover air dry completely before moving on. Never use bleach, rubbing alcohol, or all-purpose household cleaners on book covers; they can strip colour and damage the material permanently.
Leather Covers
Leather responds beautifully to a little attention. Wipe with a barely damp cloth first to remove surface dust, then apply a small amount of wax-based leather conditioner with a clean cloth using gentle circular motions. Let it absorb fully and buff lightly. A well-conditioned leather book cover can look genuinely transformed.
Hardcovers with Dust Jackets
Remove the dust jacket carefully before cleaning. Clean the hardcover underneath first (using the cloth cover method above), then address the dust jacket separately with a dry microfibre cloth. Most dust jacket paper is delicate — spot treat carefully and avoid moisture entirely.
Step 3 — Tackle Yellowing Pages and Foxing
Foxing — those distinctive brown spots that develop on old paper — is caused by a combination of oxidation and humidity exposure over decades. It's one of the most common things you'll encounter in vintage books, and it's important to go in with realistic expectations: careful cleaning can minimize foxing, but it won't eliminate it entirely.
For surface yellowing along page edges, a white vinyl eraser used very lightly on the closed page block can lift some discolouration. Work gently and in one direction.
What you should never do at home: bleach, hydrogen peroxide, or any chemical whitening agents. These can cause irreversible paper damage — weakening fibres and creating brittleness that gets worse over time.
Here's a reframe worth holding onto: foxed, amber-toned pages aren't a flaw. They're evidence that a book has lived a long life. Some patina is part of a vintage book's character — the equivalent of the patina on a brass lamp or the wear on a leather chair. Chasing perfection misses the point.
For severe foxing that affects legibility or makes a genuinely valuable book harder to sell or display, professional paper conservation is the appropriate route.
Step 4 — Eliminate Musty Odours
The beloved musty smell of old books is actually the off-gassing of paper as it slowly breaks down over time — a process called "bibliosmia" by those who love it and a deterrent by those who don't. Either way, it can be toned down significantly.
The baking soda method is the most effective DIY approach: place your book in a sealed container or zip-lock bag with a small open container of baking soda. Don't let the baking soda touch the book directly. Seal it up and leave it for 24–48 hours. The baking soda absorbs the odour molecules without any contact with the book. Activated charcoal works on the same principle and can be even more effective for stronger smells.
For lighter mustiness, simply fanning the pages gently in a clean, dry, well-ventilated space for a few hours can make a real difference. Indirect natural air circulation is your friend here.
What to avoid: perfume or air freshener sprays (they just layer one smell on top of another), dryer sheets (contact can transfer chemicals to pages), and direct heat from radiators or ovens, which will dry out and warp pages.
Step 5 — Address Light Mould or Mildew
First, know what you're dealing with. Foxing (brown spots) is not mould — it's oxidation. Mould looks whitish, fuzzy, or powdery, and tends to spread across pages or covers in irregular patches. Old water stains are flat and tide-line shaped.
If you've identified actual surface mould, work outdoors and wear gloves. A dry, soft brush can remove surface mould spores from a closed book — brush away from yourself and dispose of the debris immediately.
For mould on a cover, a cloth very lightly dampened with a 1:1 solution of white vinegar and water can neutralize it. Always test a small hidden corner first, and let the cover dry completely in a ventilated space before closing the book.
One hour or two of indirect sunlight (not direct — UV light damages paper over time) can help kill surface mould spores on pages. Fan the book open and let air and light do their work.
Know when to stop: if mould is fuzzy, actively spreading, or deep into the page block, the book is beyond DIY treatment. At that point, you're either consulting a conservator or making a practical decision about whether the book is salvageable.
Step 6 — Repair the Spine and Loose Pages
A book with loose pages isn't a lost cause — it's a repair project.
For individual loose pages, PVA bookbinding glue is your go-to. Apply a very thin, even coat to the loose edge of the page using a small brush or toothpick. Press the page firmly back into place, then close the book and place it under a heavy weight (a stack of other books works perfectly) for several hours. PVA dries flexible and archival — it won't yellow or become brittle over time the way regular white glue does.
For a cracking or splitting spine, archival book repair tape applied carefully along the outside of the spine can stabilize it beautifully without looking clunky. You can also work a thin line of PVA into the crack, press it closed, and let it dry under weight.
For a cover that's detached but the pages are still intact, you can often re-adhere it using PVA applied to the inner joint (where cover meets pages), clamping or weighting while it dries. This is more involved but very achievable for a straightforward case.
If the binding has fully collapsed — pages completely loose from a detached cover, with no clear attachment points — that's a case for a bookbinder or a decision to let the book go.
How to Store Your Restored Books
All that work deserves to last. How you store vintage books matters enormously — especially in Montreal, where our dramatic seasonal humidity swings (from bone-dry winter heating to humid summer air) are genuinely hard on old paper.
The basics:
-
Store books upright, spine supported, not leaning at an angle
-
Keep out of direct sunlight — UV light fades covers and degrades paper over time
-
Aim for consistent humidity around 40–50%. A small hygrometer (under $15) can help you monitor this in the room where you keep your collection
-
Keep books away from basements, exterior walls, and anywhere with temperature fluctuations or moisture risk
For your most precious finds — a first edition, a beautifully illustrated volume, a book with personal significance — acid-free tissue wrapping or a simple clamshell box provides real protection.
Where to Find Vintage Books Worth Restoring in Montreal
The hunt is half the fun. When you're browsing, here's what to look for:
-
Cloth or leather-bound hardcovers — they clean up beautifully and have the most visual impact
-
Illustrated editions — vintage illustrations, maps, and diagrams make for stunning display pieces
-
Books with inscriptions — a name, a date, a handwritten note inside the cover adds irreplaceable character
-
Intact spines — a book with a solid spine is far easier to restore than one that's already separating
At EcoDepot, books, records, and collectibles rotate in weekly — so each visit turns up something different.